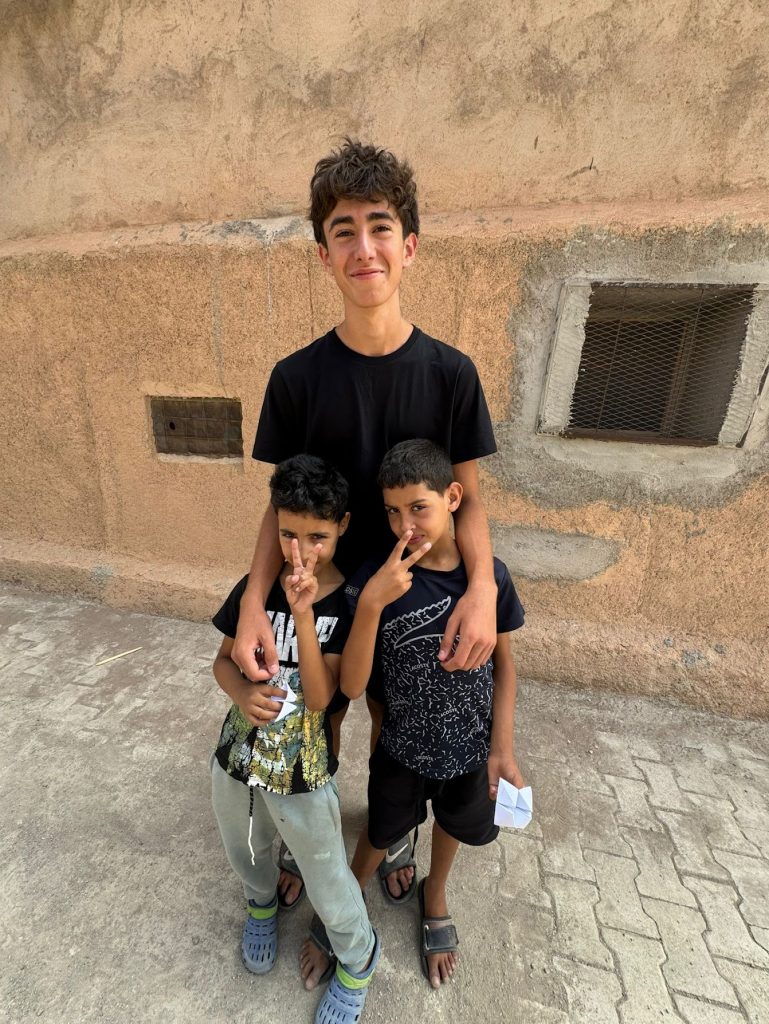
I spent two weeks this summer designing curriculum and teaching kids who had limited curricula. I went with a group of friends to a small town in Morocco called Midelt, in which a friend and I designed and taught english classes to a group of kids 8 – 14, who only spoke Arabic.
In summer of 2024 I completed a cybersecurity program through Summer Springboard at MIT. In this course we explored a number of different areas including kali linux, open source intelligence (OSINT) with a FBI special agent and worked as a team on a final capture the flag (CTF) competition. We had the opportunity to live on the MIT campus and use their facilities during the program.
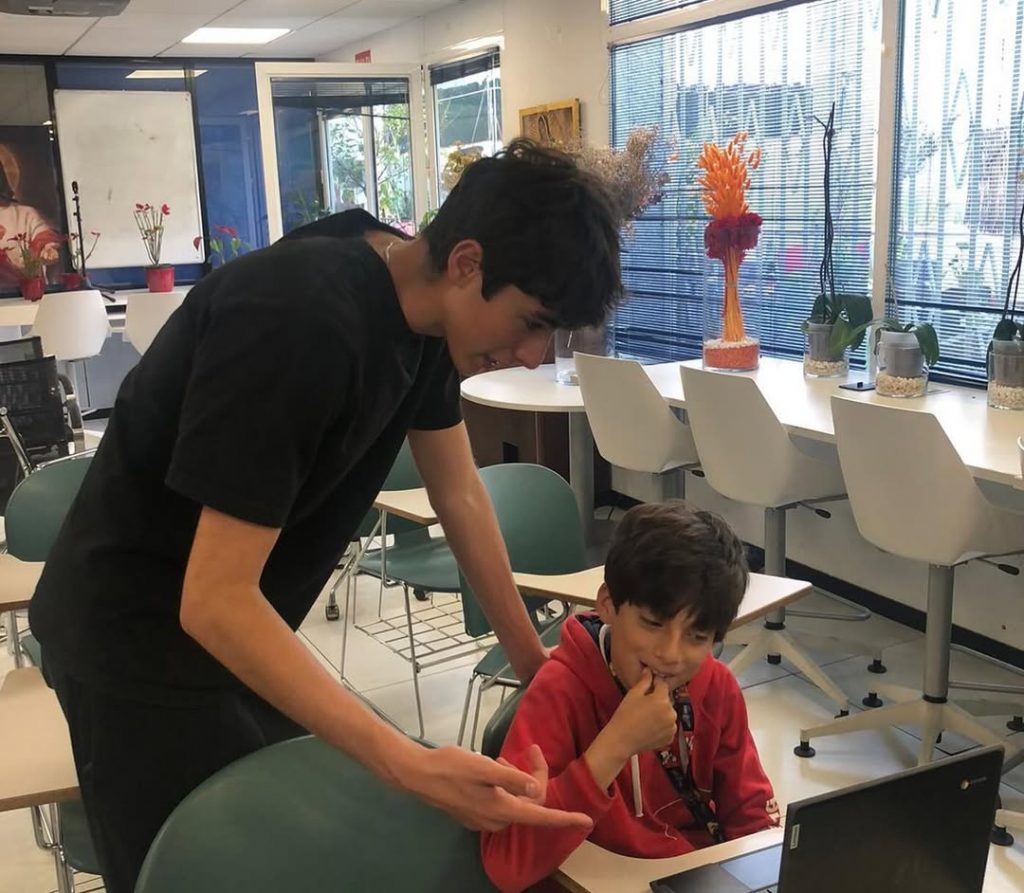
During the past year I have been teaching classes in Madrid on computer science and programming to young students (8-14) for a non-profit organization on a weekly basis. I am responsible for developing and teaching curriculum to accommodate the students’ different skill levels.
After reading about ionic thrusters I wanted to build one but the most important part of a powerful thruster and many other electricity-based projects is a high voltage powerhouse. This high voltage transformer I made can turn 12 volts into over 20,000 volts DC.
Transformers can step up or step down voltages by running current through a coil (primary coil) wrapped around steel, creating a magnetic field. Then a secondary coil reconverts the electromagnetic field into electricity that is more or less voltage depending on the number of coils on either side of the core.
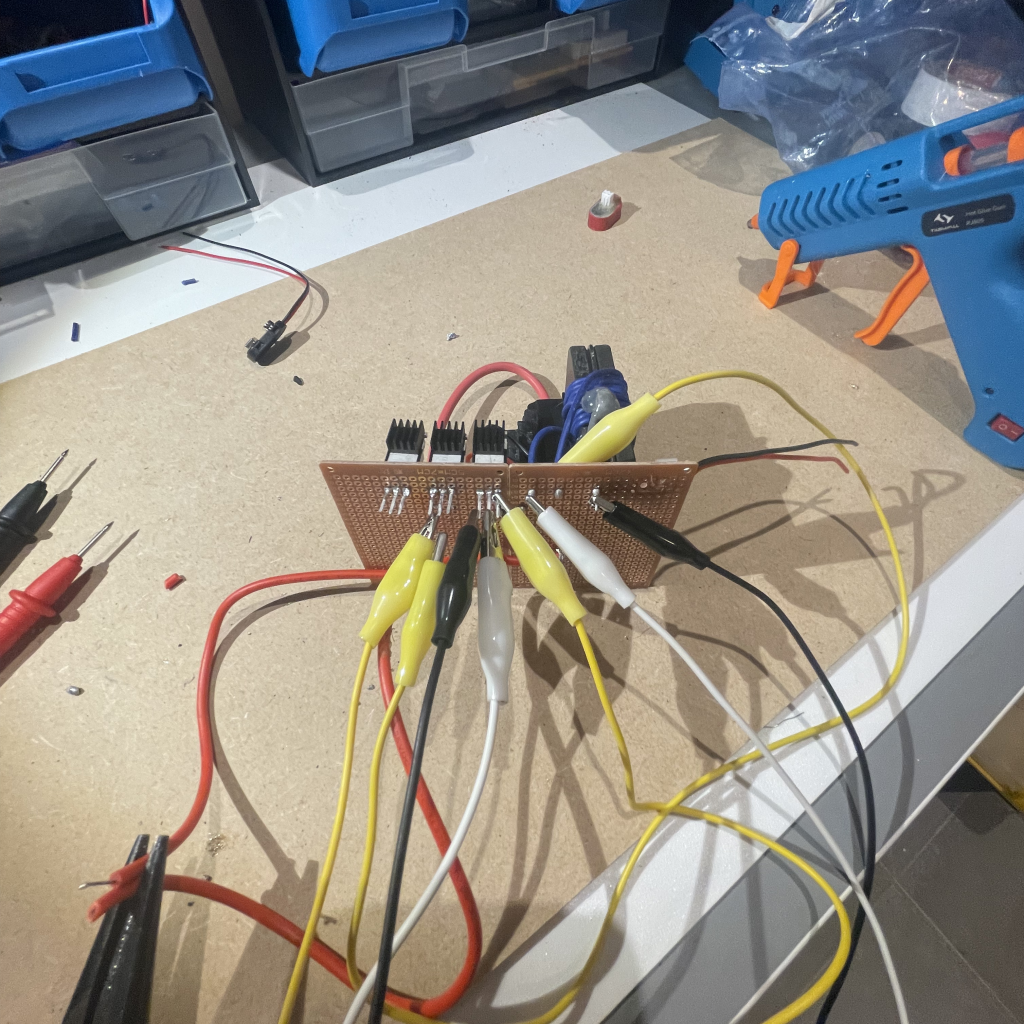
First, to make sure my circuit was working I attached all the components to a prototype board and connected them with alligator clips.
The test circuit.
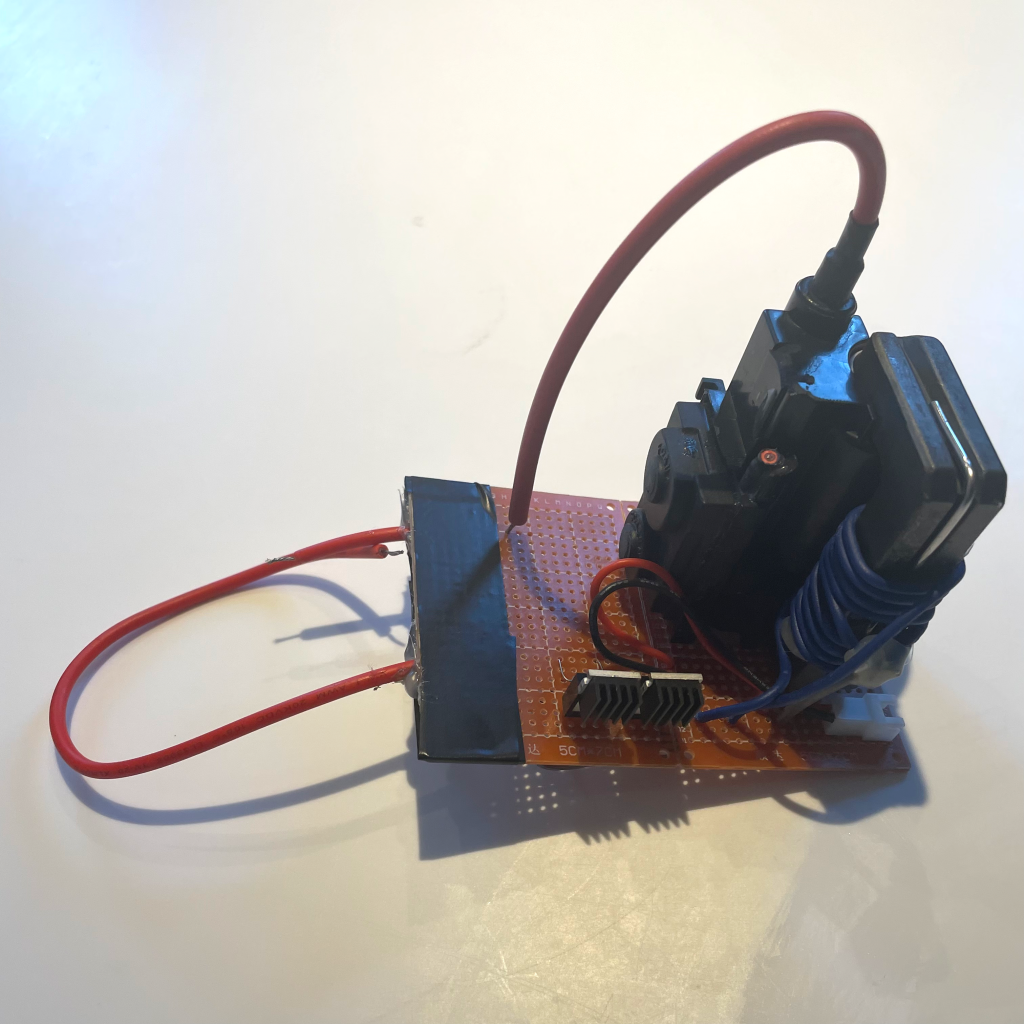
Once I found out what the primary coil on my transformer was I wrapped 2 wires around the second part of the core and added a couple of transistors and a resistor to complete the circuit.
Here’s the finished prototype circuit, the two small black things are transistors and the large object is the transformer. The two wires coming out from the left are the output wires.
This is the arc it made when I connected it to a 9v battery.
After refining the circuit and adding a switch I then attached it to a piece of board which I drilled all holes for the components in and glued them on. Once everything was secure I soldered all the components together and screwed a second piece of board on for increased stability and protection.
Here’s the final product
To use the transformer you have to attach the input voltage to the two bolts sticking up closest to the switch and you’ll get your output on the other side.
In this circuit I have a 9V battery as the input and for the output im just closing the circuit.
To power the device you can uses almost any battery with a voltage of 9-12 volts.
I had a few high voltage transformers that I wasn’t using and since they make a big spark but aren’t necessarily dangerous I thought that they would be perfect for a taser. The main things I used for this were plastic for the main structure, the transformers, and a 9v battery.
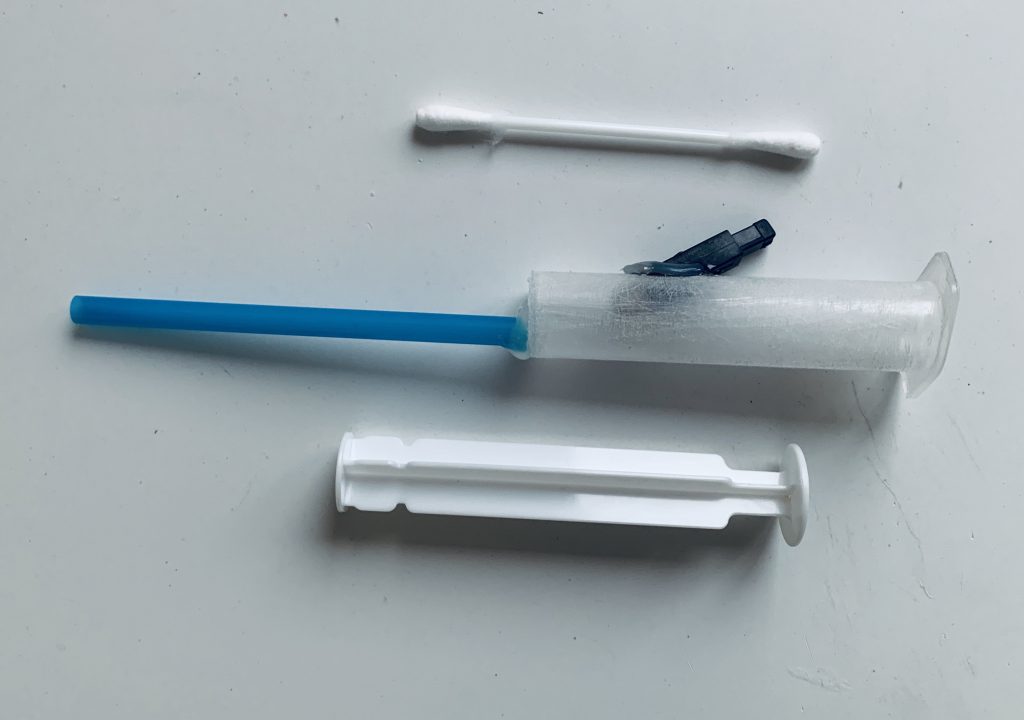
Here are the three different modules used in the taser.
I first had to design the entire thing on tinkercad to then print it. When I first prototyped it I used a 1.5v battery but it was powerful enough so I ended up using a 9v one. Also, the way I designed it was in 3 different parts, the tip, the transformer part, and the battery holder.
Here is the finished taser with all parts connected.
To turn it on all you had to do was press on a button which closed a circuit between the battery and the transformer.
Here is a test of the finished project.
PARTS USED
TIME REQUIRED
ESTIMATED COST
-3D printed structure -High Voltage Transformer -9v Battery -Battery case -Button
-2 hours designing -2 hours building -1 hour testing/ prototyping
I had seen a lot of projects where people used perfume as an explosive. After seeing many of these projects, I decided to try to build my own. I used some common household items to make it, in the end I’m happy with the results.
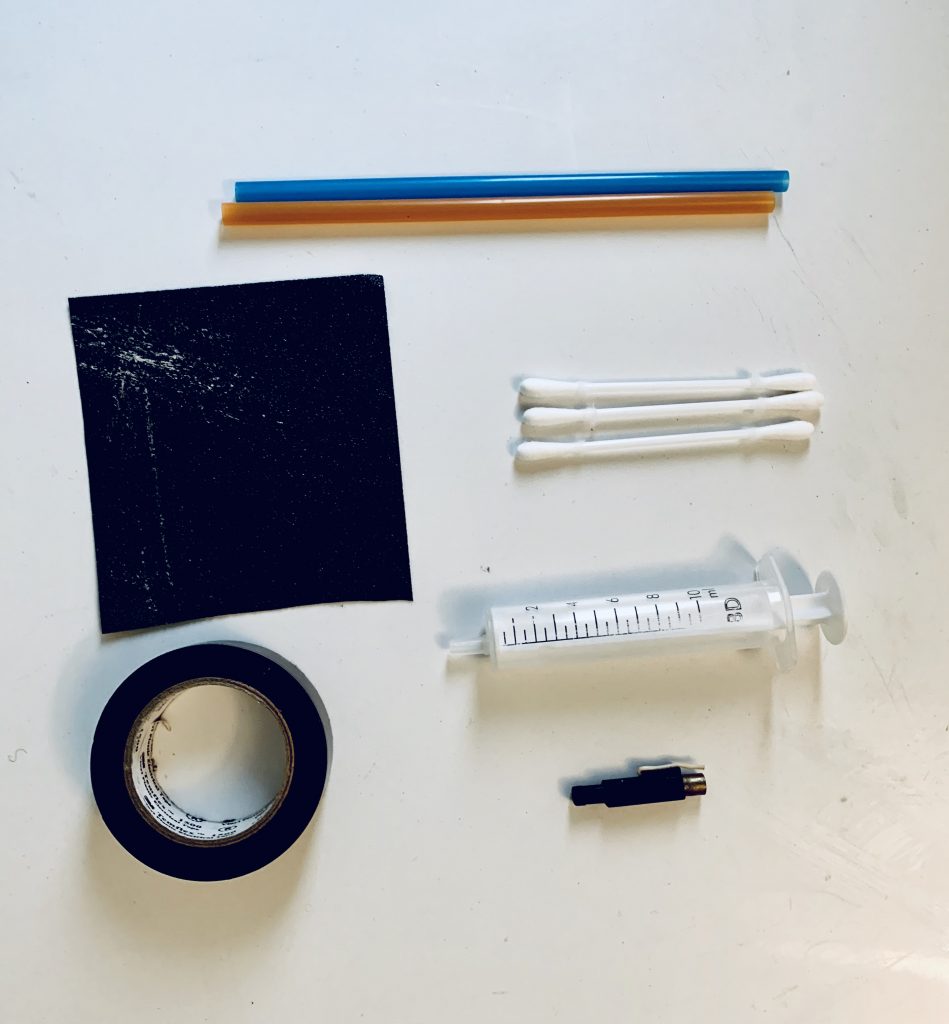
I used a syringe for the chamber and a few other components. For the ignition system I used a push igniter that used piezoelectric energy. For the barrel I used a plastic straw. When I had everything ready I assembled it. This projects uses Q-tips as ammo.
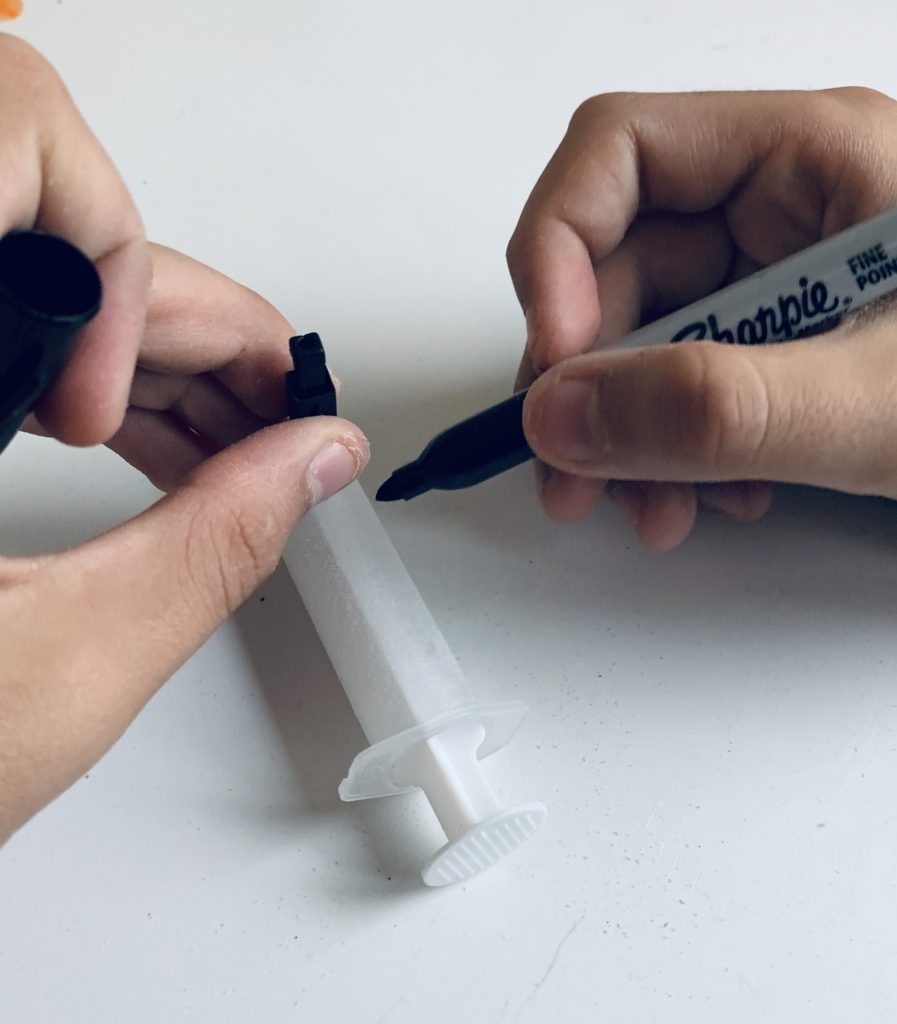
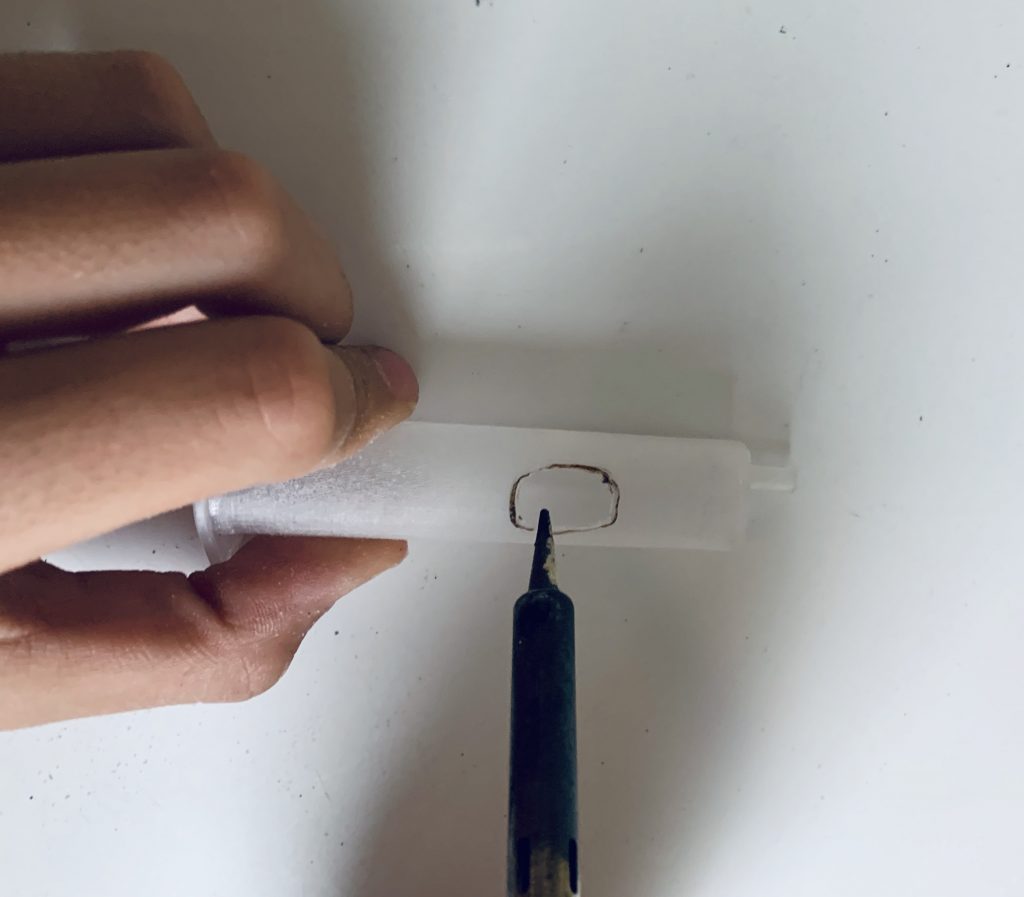
Assembling the perfume gun.
Before testing with ammo, I tested the ignition system. Spray perfume into the chamber and pull the trigger.
All systems go
To make it fire, what you have to do is take the back part off of the syringe and squirt some perfume in. Then you close it back up and put the Q-tip in the barrel. When you press the igniter it creates a small spark that sets the alcohol in the perfume on fire. The alcohol expands when its on fire and it shoots the Q-tip out of the straw.
BlastingI made a paper target and fired it at it to see if it would work.
PARTS USED
TIME REQUIRED
ESTIMATED COST
-BBQ Lighter (ignition) -Syringe -Straw
-1 hour designing -1 hour building -15 minutes testing TOTAL: 2 hours and 15 minutes
After New Years Eve in Madrid, you can find fireworks. I was walking around and I found an entire pack of unused firecrackers. I was thinking about what to do, and in the end I decided to make a sort of rocket launcher.
How I built it was simple, the firecrackers had a fuse, so I needed a way to light it and a barrel to put the rocket in. For the ignition I used an arc lighter, which creates a small electric arc that can light things on fire.
The first prototype.
For the rest of the project, I designed the pieces with tinkercad. Later, I printed them out with my Prusa 3d printer. I connected all the pieces to some wood with glue and zip ties. I protected the electronics with some electric tape.
Loading the rocket.
The result was pretty cool, here you can see how it works.
Successful launch.
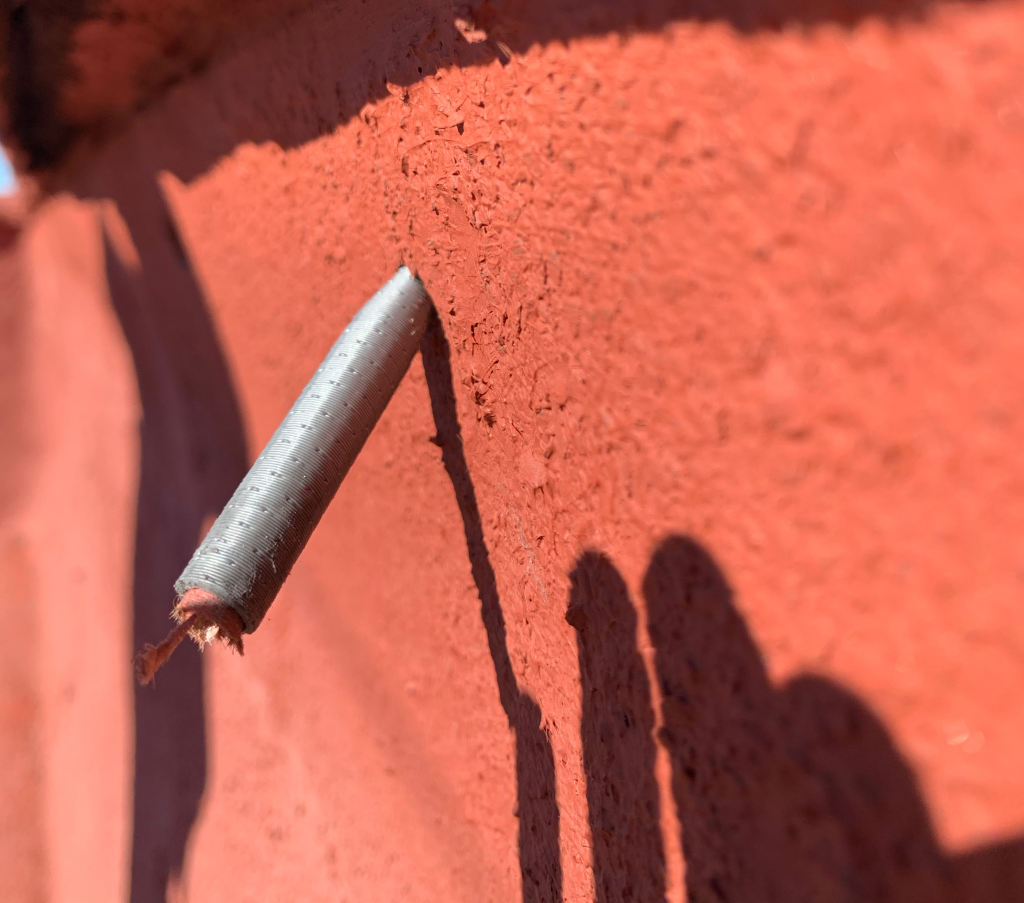
The force of the rocket was strong enough to impale it in the wall.
PARTS USED
TIME REQUIRED
ESTIMATED COST
-Arc lighter -3d printed parts -Firecrackers -Electric tape